
Building a skincare routine can be overwhelming.
There are just so many skincare products to choose from!
Well we’re here to reassure you that your routine doesn’t need 15 steps.
Remember that less is more!
Let’s take a breath and dig deeper together.
From this you will learn the simplest and easiest skincare routine for 2023, establish what the correct order in your skincare routine should be and what are the steps you don’t really need to apply.
We will also cover what products are best based on your skin type.
What you need to keep in mind is that your skin needs hydration and moisture to maintain its skin barrier and you can get this from even a less than 5 step routine.
The main skincare products you should have on your shelf are a gentle, sulphate-free cleanser, a fragrance free moisturiser and a sunscreen with at least SPF 30.
That is literally just 3 steps!
If you think about it, more products = a higher risk for irritation, allergic reactions, and breakouts.
Now let us discuss your skincare routine order and steps.
Here’s a little guide of the exact order to apply skincare products and before you freak out at seeing a 10-step routine, don’t worry!
You don’t really need all these products, even just a few will contribute to a great, simple routine.
DAY
- Cleanser
- Toner
- Serums
- Eye cream
- Spot treatments
- Moisturiser
- Face oil
- Sunscreen
NIGHT
- Cleanser
- Toner
- Serums
- Eye cream
- Spot treatments
- Moisturiser
- Retinol
- Face oil
When it comes to layering, the rule of thumb is to apply the lightest first and the heaviest last, since thinner products can’t penetrate thicker products.
Example you should apply a serum before a moisturiser as a serum applied after would become ineffective since the moisturiser is thicker.
Let’s break down the steps.
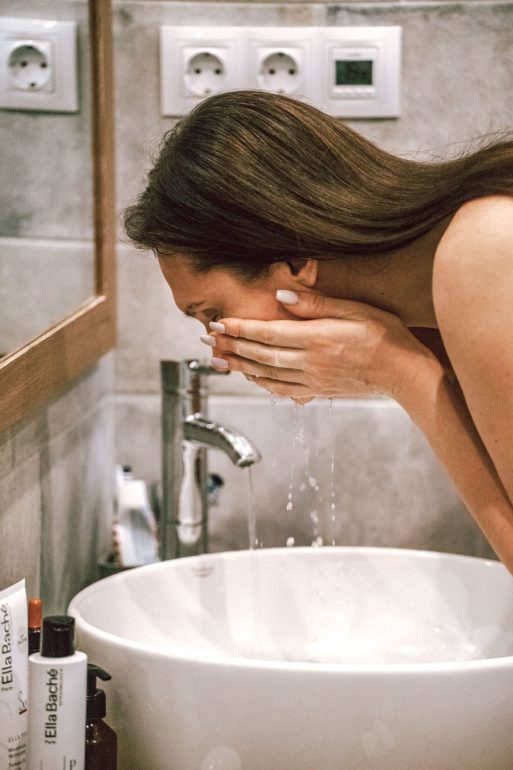
Step 1: Cleanser
You should use a cleanser both morning and night!
It is essential to wash away your face from makeup, oil build up and any other grime before using any products.
You need clean skin in order for the skin to absorb the ingredients properly!
You see that packet of makeup wipes?
Throw it away if you want to do things right.
A cleanser will dissolve all of that without stripping your skin, double cleanse with a gentle cleanser.
This step is the most required step in this entire routine.
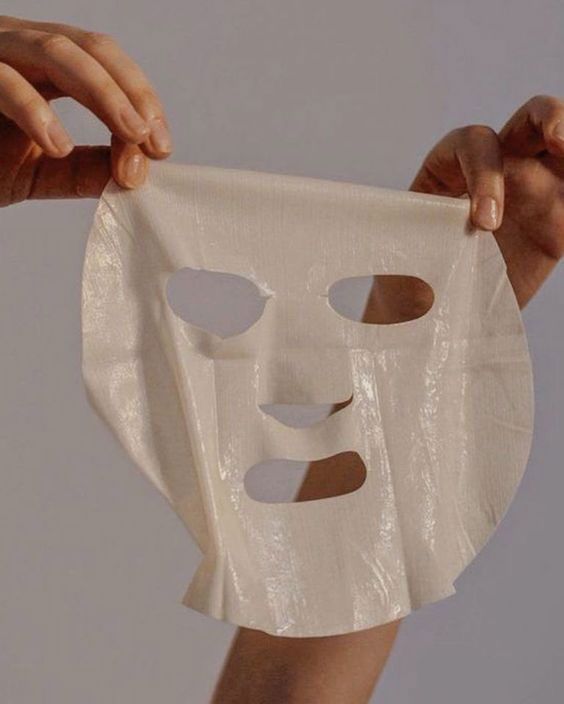
If you want to apply a face or sheet mask, do so after cleansing your face and once you’re done with them rinse your skin and follow with the upcoming steps.
How to choose the best cleanser for your skin type
- Dry skin: The best type of face wash for dry skin should be creamy, non-foaming face washes with barrier-boosting ingredients like ceramides, hyaluronic acid, and glycerin.
- Oily skin: Avoid too-stripping formulas (like charcoal, sulphate, and clay based cleansers) and look instead for gel based face washes or gentle foaming cleansers for oily skin.
- Acne prone skin: As with oily skin, acne-prone skin should avoid harsh cleansers and look instead for gentle, creamy cleansers to minimise inflammation (dry and irritated skin = more acne breakouts).
- Sensitive skin: Try a gentle, creamy face wash filled with soothing colloidal oatmeal, aloe vera, and niacinamide.
Some advice, make sure to have a cleanser that hydrates your skin for the morning and a cleaner that helps treat your skin for the night.
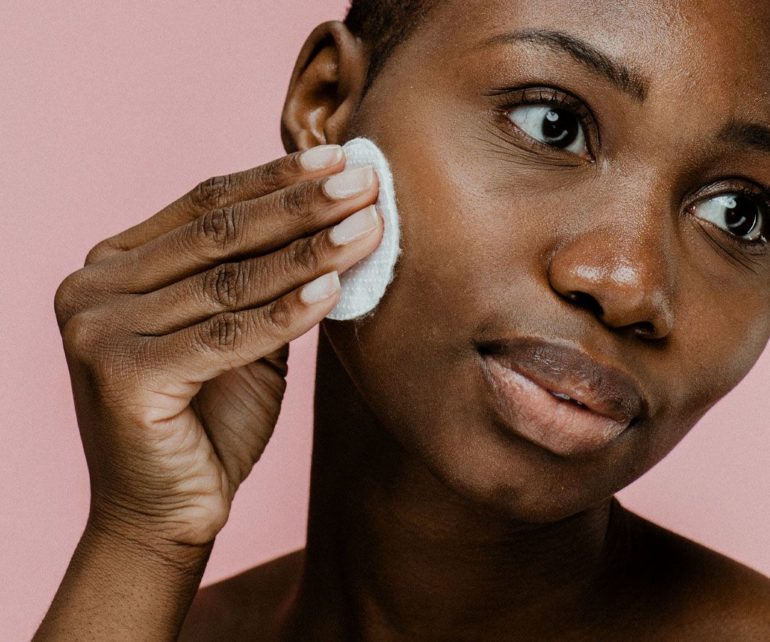
Step 2: Toner
A Toner is for both your morning and night time routine.
Once upon a time toners used to be terrible, alcohol-based liquids that burned your face.
Nowadays we recognise that toners need to either be filled with gentle, hydrating ingredients for dry and sensitive skin or filled with chemical exfoliants to treat acne.
If you have an essence that you’re excited to use, use it instead of a toner.
This is because toners and essences are interchangeable in their consistencies.
How to choose the best toner for your skin type
- Acne prone and oily skin: The best toner for both oily skin and acne prone skin will be one filled with either BHA (beta hydroxy acid, like salicylic acid) or AHA (alpha hydroxy acid, like glycolic acid or lactic acid), which work to unclog pores, prevent breakouts, and dissolve blackheads over time.
- Dry and sensitive skin: Both dry skin and sensitive skin types do best with hydrating toners (although all skin types, even acne prone, can benefit) because they help replenish the water your skin barrier lost when you washed and dried your face.
Another piece of advice is that there’s no such thing as too much moisture, regardless of your skin type!
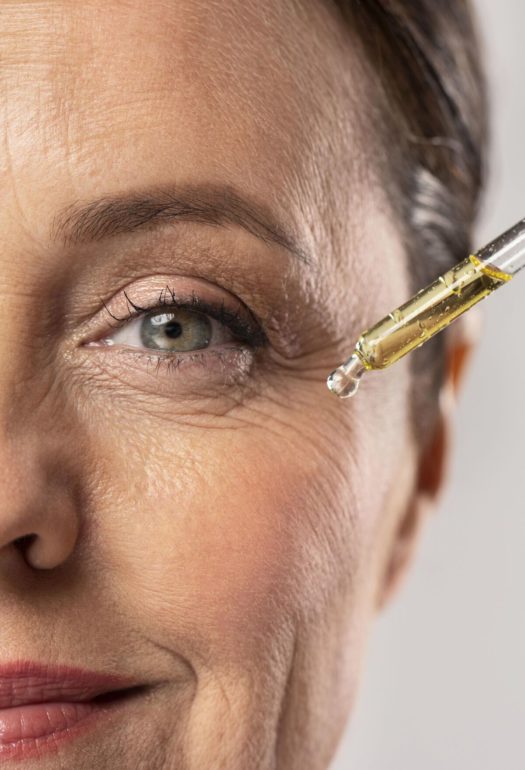
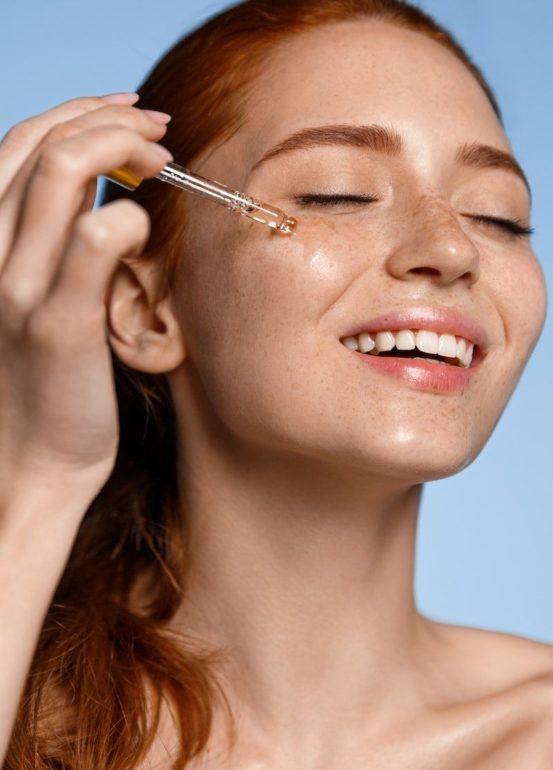
Step 3: Serum
To be used in the morning and/or night.
Serums are used to amp up your skin’s health with concentrated nutrients, hydrators, or antioxidants as soon as you apply them.
A lot of people skip the serum step, as it is optional, however, they do most of the heavy lifting in your skincare routine.
A serum is often a very good first step to take in order to level up your skincare game.
When applying a serum in the morning, a lot of dermatologists recommend using a Vitamin C serum as it protects your skin from inflammation and damage caused by environmental factors, while also brightening dark spots over time.
However, Vitamin C can be strong, so if your skin is sensitive, use it every other morning instead.
As for your night time routine, all skin type can benefit from using a hydrating, hyaluronic acid based serum at night (even in the morning if you’d like to!).
Especially if you’re applying an acne treatment or an anti-aging product which can often times be drying or irritating so prepping your skin with some hydration would help greatly!
Step 4: Eye cream
Again can be applied both morning and/or night.
Eye creams tend to be lighter and thinner than face moisturisers, so make sure to apply them before your creams and oils.
But also…eye creams are not necessary for most people because as long as you’re using moisturiser and sunscreen, your eye area is already getting the TLC it needs!
But if you wanna try one out, here’s how to choose:
If you’re applying one in the morning, make sure to look for an eye cream that is packed with caffeine. This helps temporarily constrict and tighten puffy under-eyes within 20 minutes.
As for night time, you’d want to find something gentle. Many make the mistake of opting for a retinol eye cream to help with fine lines but it’s better to avoid the risk if irritation as you eye area is quite delicate.
It is best to find a simple hydrating eye cream that’ll protect your under eyes and repair your skin barrier overnight.
Step 5: Spot treatment
Apply morning or night.
Ideally, spot treatments are best applied at night because that’s when your body is working hardest to repair itself.
However, if your night time routine already consists of acids or retinoids, it is better to apply in the morning so you don’t irritate your skin.
Make sure to tap it on before your moisturiser so it can really penetrate your skin.
If you have dark spots and acne scars, it is recommended to use a spot treatment with either hydroquinone (a skin-bleaching ingredient that works fast but can be highly irritating) or niacinamide (vitamin B3), which gently brightens marks and scars over time.
Niacinamide can be used daily, but hydroquinone should be used once every three days to be safe (if you experience no irritation after two weeks then you can start using it every two days).
For acne breakouts stick with benzoyl peroxide and salicylic acid BUT not together, unless you want to irritate your skin. Benzoyl peroxide kills acne causing bacteria (whiteheads), while salicylic acid dissolves oil and skin cells (clogged pores and inflamed bumps).
When applying make sure to dab a thin layer (repeat after me: a little goes a long way) over your spot and wait a full minute for it to dry.
To prevent the treatment from getting wiped around your face, apply your moisturiser to the rest of your face, avoiding the spots. When your face is fully moisturised, tap a dot of moisturiser on top of the spot treatment.
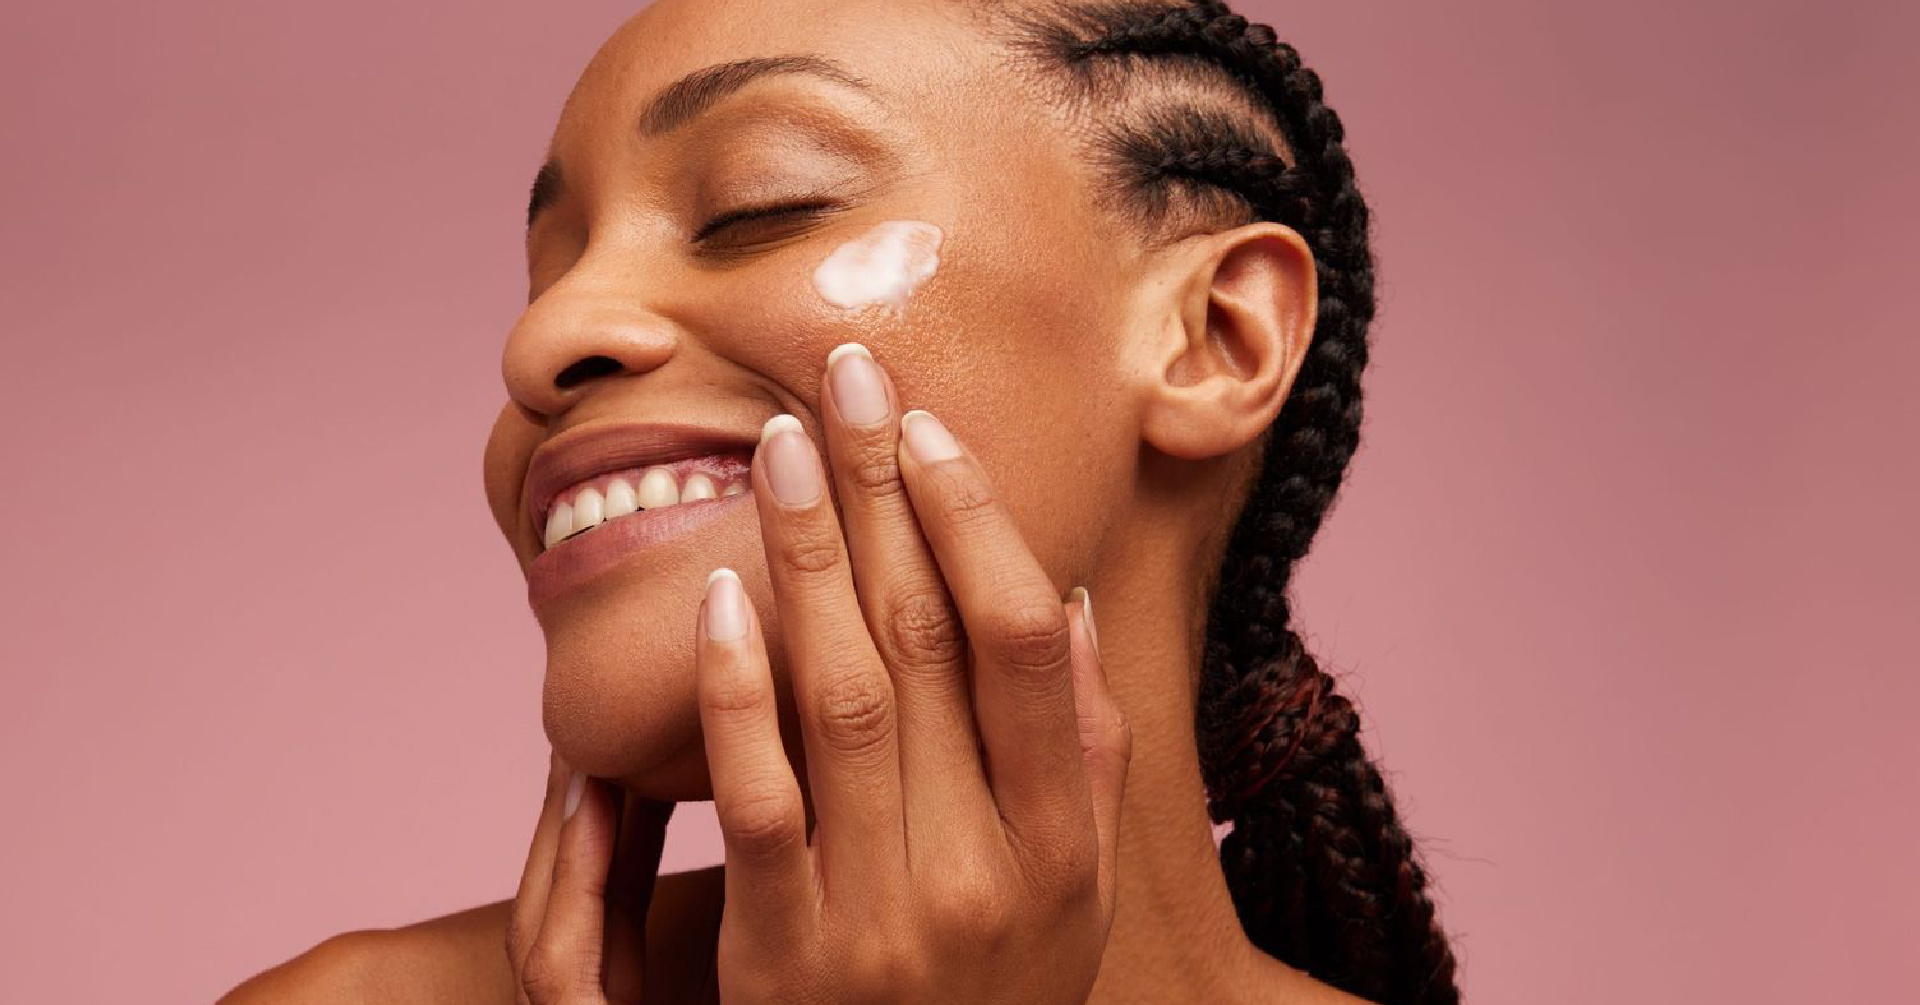
Step 6: Moisturiser
Apply a moisturiser both morning and night.
You must use a moisturiser twice a day!
Your skin barrier requires moisture and hydration to stay healthy.
All skin types should load up on formulas rich in ceramides, glycerin, and hyaluronic acid as a moisturiser also helps trap in all the products underneath it to make the ingredients even more effective.
This is your last step before sunscreen, if you’re skipping sunscreen (you shouldn’t) then wait 5-10 minutes for it to sink in before applying makeup.
How to choose the best moisturiser for your skin type
- Oily skin: Oily skin should look for lightweight moisturisers in either a cream or gel based formula to keep skin hydrated without feeling greasy.
- Dry skin: The best dry-skin moisturisers should be filled with all the things your body naturally produces and can use more of, like hyaluronic acid, lipids, and proteins.
- Acne-prone skin: The right moisturiser for acne-prone skin will depend on whether or not your skin is dry (in which case, look for lightweight lotions) or oily (opt for gel based formulas for morning, or cream formulas with salicylic acid at night).
And if you’re wondering about anti-aging creams, you can try getting into retinol by using it at night.
Retinol is a gentle dose of retinoids and it is less irritating to apply it on top of your moisturiser.
Step 7: Retinol
Only at night!
Retinoids is a general term for Vitamin A.
Retinol will sink into your skin to speed up cell turnover, causing your body to produce fresher, smoother, less-wrinkled skin over time.
Remember that retinoids take four to six months of consistent use to give you results, so consistency is key, always.
Retinoids trigger collagen production and cellular exfoliation which means they’ll also fade dark spots, smooth scars, clear pores, prevent breakouts, and brighten skin.
Basically, retinoids are the closest thing to magic that dermatologists have, although you might have to wait half a year to see these results.
If you’re new to retinoids, make sure to start slow.
Start applying a pea-size drop to your entire face one night a week for one week, then two nights a week for two weeks, then three nights a week for three weeks, and then every other night indefinitely.
However, you should skip this step if you’re using a night cream with retinoids because doubling won’t make the anti-aging results more effective but it will simply cause inflammation.
And like we talked about before, if you have sensitive skin, it is best to apply a layer of moisturiser 10 minutes before and 10 minutes after your retinol to reduce irritation without totally diluting the treatment.
Think of it like sandwiching your face in moisture.
Step 8: Face Oil
Apply a face oil in the morning and/or night.
Face oils seal in all the ingredients and moisture you just applied to your face to keep them from evaporating as quickly.
Oils don’t really moisturise your skin, but when you layer them over products, they help increase your routine’s efficacy while also leaving skin softer and smoother.
Make sure to always apply your oils last as oils can easily penetrate moisturisers, serums, and treatments, but no products can penetrate an oil.
Oils aren’t just for dry skin. Certain oils, like rosehip and jojoba, have been shown to regulate excess oil in acne-prone skin, while marula and aloe oils can soothe sensitive, easily irritated skin.
Although in reality you don’t really need a face oil.
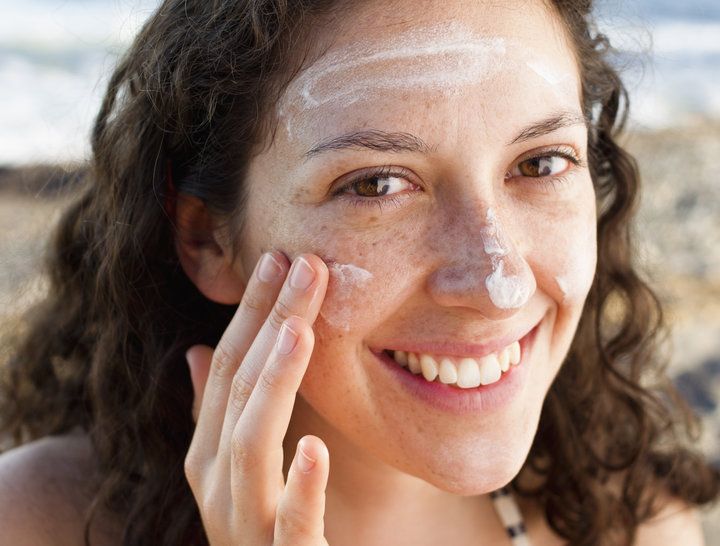
Step 9: Sunscreen
Apply in the morning and keep re-applying thought your day!
Yes, oils do go last, but technically, sunscreen is the absolute last step and it is required!!
Oils are still working to penetrate and treat your skin, which is why they would go last in your skincare routine, but sunscreen isn’t trying to penetrate anything it’s just there to protect your face and act as an armour against the outside world.
No, that SPF 15 in your foundation is useless it is not enough.
The minimum SPF you need is SPF 30, it helps prevent and protect from premature aging, worsened acne scars, and cancer.
And don’t even start with the ‘I hate the feeling of sunscreen!’
It’s 2023, it’s impossible to hate every single sunscreen on the market!
You really need it, trust us.
And to make sure to cover it all, yes sure, use that moisturiser with SPF in it but listen, the best sunscreen is the one where it is its own product.
Moisturisers formulated with sunscreen can be more sensitising and won’t have as many moisturising benefits, so, while it is better than nothing, it is not ideal.
Lets cover some more…
The term non-comedogenic is a marketing term brands often use to signal that a product or an ingredient shouldn’t clog pores or trigger acne breakouts.
However, it isn’t always accurate as the original system was based on animal testing meaning it historically hasn’t been very reliable.
On the bright side, some brands do conduct internal testing to determine if their product is truly non-comedogenic, but it is still difficult to verify their accuracy as not everybody’s skin is the same.

Some wonder if they need to apply products with skincare tools.
You don’t need any tools for skincare. There are definitely tons of facial tools and gadgets which you can absolutely use but none of them are the key to excellent skin, and some of them can actually irritate your face and cause further issues over time. But if you’re set on playing around with tools, here’s a quick breakdown of the most common:
- Facial cleansing brushes: These are used to exfoliate your skin while washing your face (no, they cannot “remove” or “dislodge” gunk from your pores). They can irritate your skin barrier, and most dermatologists aren’t in love with them, and also don’t recommend them for anyone dealing with acne, eczema, rosacea, or sensitive skin.
- LED face masks: These make use of different wavelengths of light to potentially help stimulate collagen production, kill acne-causing bacteria, and even reduce inflammation. At-home LED face masks are fine but they’re nowhere near as effective as professional in office treatments.
- Cryo tools: Cryotherapy tools, like ice rollers, are excellent for soothing irritation and inflammation, since they temporarily shrink the blood vessels in your skin to help bring down swelling. Although they can’t “tone” or chisel your face that is just a myth, but they’re great for de-puffing and calming.
- Facial steamers: These help soften the top layer of your skin for somewhat better product absorption and that’s about it. They don’t “open” your pores, they can’t melt your blackheads, and they can’t remove “toxins”.
- Micro-current facial devices: These emit a low-grade electrical current that stimulates your muscles, potentially leading to slightly firmer and more lifted-looking skin over time. Some people swear by them, while others saw no visible results.

With all things in skincare, you do you, and use whatever makes you happy!

So now you finally learned everything (ish) in the world about skincare!
Will you pass on this advice ? Let us know